
Honeywell TH4210U2002 Install Manual: A Comprehensive Guide
This detailed manual provides comprehensive instructions for installing the Honeywell TH4210U2002 thermostat, covering everything from initial setup to advanced programming features.
It includes wiring diagrams, troubleshooting tips, and access to Honeywell’s support resources, ensuring a smooth and successful installation process for both professionals and DIY enthusiasts.
Downloadable PDFs are readily available on ManualsLib, offering a convenient way to access the complete installation and user guide for this T4 Pro series thermostat.
The Honeywell TH4210U2002 is a member of the popular T4 Pro Series of programmable thermostats, designed to provide efficient and convenient temperature control for residential heating and cooling systems. This thermostat offers a user-friendly interface combined with advanced features, allowing homeowners to optimize their energy usage and comfort levels.
This installation manual serves as a complete guide for installing and setting up the TH4210U2002, catering to both professional HVAC technicians and individuals comfortable with DIY projects. It details the necessary safety precautions, required tools, and step-by-step instructions for proper wiring and mounting.
Users will find valuable resources within this manual, including detailed wiring diagrams compatible with various HVAC systems, troubleshooting tips for common issues, and information on accessing Honeywell’s dedicated support channels. The manual also covers essential programming functions, enabling personalized heating and cooling schedules to suit individual lifestyles and preferences. Access to downloadable PDFs on platforms like ManualsLib further enhances accessibility.
Understanding the T4 Pro Series
The Honeywell T4 Pro Series represents a significant advancement in home comfort and energy management. These programmable thermostats, including the TH4210U2002, are engineered for ease of use and compatibility with a wide range of heating and cooling systems. They bridge the gap between basic functionality and smart home integration, offering a balance of features and affordability.
Key characteristics of the T4 Pro Series include a clear, backlit display, intuitive menu navigation, and flexible scheduling options. These thermostats allow users to create customized heating and cooling programs tailored to their daily routines, maximizing energy savings and comfort.
The series is known for its reliable performance and straightforward installation process, as detailed in the accompanying installation manuals available on resources like ManualsLib. Understanding the core principles of the T4 Pro Series will empower users to effectively utilize the TH4210U2002’s capabilities and troubleshoot potential issues with confidence.
Package Contents and Verification
Upon receiving your Honeywell TH4210U2002 thermostat, carefully verify the package contents against the included packing list. This crucial step ensures all necessary components are present before commencing installation, preventing delays and frustration. Typically, the package should contain the thermostat base plate, the thermostat display unit, mounting screws and anchors, wire labels, and the comprehensive installation manual.
Inspect each item for any signs of damage incurred during shipping. If any components are missing or appear damaged, immediately contact Honeywell support or your point of purchase for a replacement. Do not attempt to install a damaged thermostat, as this could compromise its functionality and safety.
Referencing the installation manual’s diagrams will aid in identifying each part. Proper verification of package contents is a foundational step towards a successful and trouble-free installation experience.

Installation Procedures
Begin by prioritizing safety precautions, then gather the required tools for a seamless installation process. Carefully follow the wiring diagram and mounting instructions for optimal performance.
Safety Precautions Before Installation
Prior to commencing any installation work on the Honeywell TH4210U2002 thermostat, it is absolutely crucial to disconnect power to your HVAC system at the breaker panel. Failure to do so presents a significant risk of electrical shock or damage to your equipment. Always verify the power is off with a non-contact voltage tester.
Exercise caution when handling wiring, ensuring no bare wires are exposed. If you are uncomfortable working with electrical wiring, it is strongly recommended to consult a qualified HVAC technician. Improper wiring can lead to system malfunction or create a fire hazard.
Read and understand all instructions in this manual before beginning the installation. Wear appropriate safety glasses to protect your eyes from debris. Keep the work area clean and well-lit to prevent accidents. Be mindful of potential hazards such as sharp edges or confined spaces.
Always adhere to local electrical codes and regulations during the installation process.
Tools Required for Installation
Successfully installing the Honeywell TH4210U2002 thermostat requires a few essential tools. A Phillips head screwdriver is necessary for mounting the base plate and securing wiring connections. A flathead screwdriver may also be useful for certain terminal screws.
Wire strippers are crucial for preparing the thermostat wires, ensuring clean and secure connections. A non-contact voltage tester is vital for verifying power is disconnected before working with wiring. A level will ensure the thermostat is mounted straight for accurate readings and a professional appearance.

Pencil for marking screw locations and wire identification. Drill with appropriate drill bits may be needed for mounting the base plate if existing holes are not suitable. Needle-nose pliers can assist with manipulating wires in tight spaces. Digital Multimeter can be helpful for advanced troubleshooting.
Safety glasses are recommended for eye protection.
Wiring Diagram Overview (TH4210U2002)
The Honeywell TH4210U2002 utilizes standard thermostat wiring configurations. Understanding the wiring diagram is crucial for a correct installation. Typically, the R wire provides 24V power, while the C wire is the common wire, essential for consistent power. W wire controls heating, and Y wire manages cooling.
G wire activates the fan, and often, an O/B wire is used for reversing valve control in heat pump systems. Diagrams available on ManualsLib detail these connections. Carefully identify each wire before connecting it to the corresponding terminal on the thermostat base plate.
Incorrect wiring can damage your HVAC system. The T4 Pro series, including the TH4210U2002, supports various system types, so consult the specific diagram for your setup. Always double-check your connections against the diagram before restoring power.
Refer to the manual for detailed color coding.
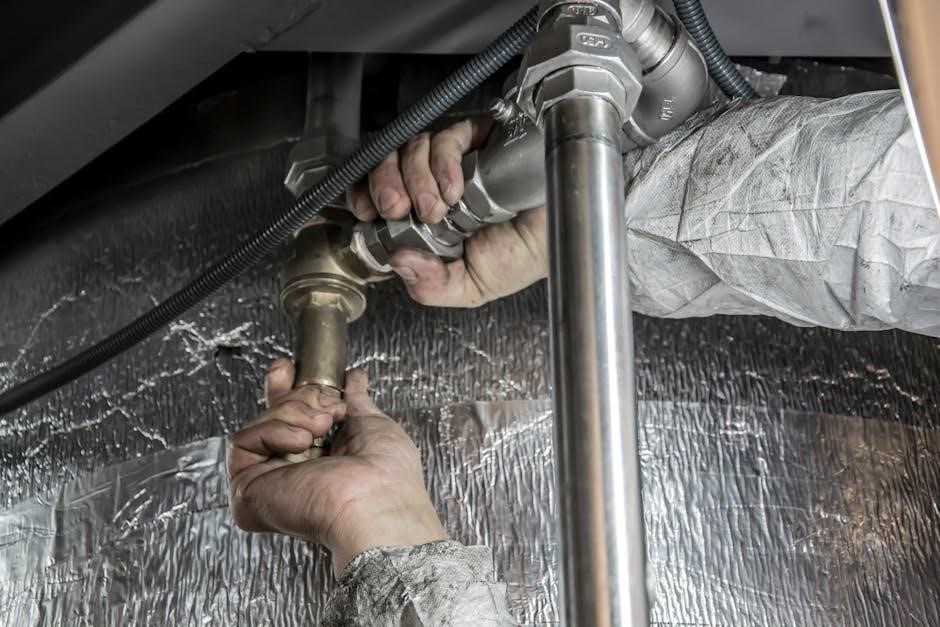
Connecting the Thermostat to Your HVAC System
Before connecting the TH4210U2002, ensure power is completely shut off to your HVAC system at the breaker box. This is a critical safety precaution. Carefully remove your old thermostat, labeling each wire as you disconnect it – this prevents confusion.
Using the wiring diagram (refer to the previous section), connect each labeled wire to the corresponding terminal on the thermostat base plate. Ensure each wire is securely fastened. Double-check all connections against the diagram before proceeding.

Pay close attention to the C-wire, as it’s often required for the TH4210U2002’s consistent operation. If you lack a C-wire, consult a qualified HVAC technician for assistance. Proper connection is vital for optimal performance and to avoid damaging your system.
Once connected, proceed to mounting the base plate.
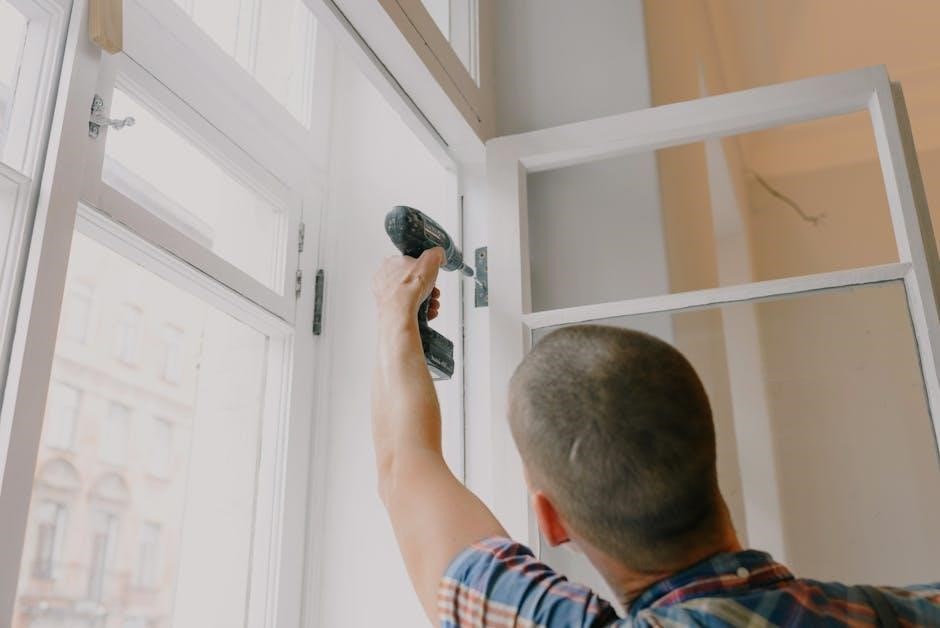
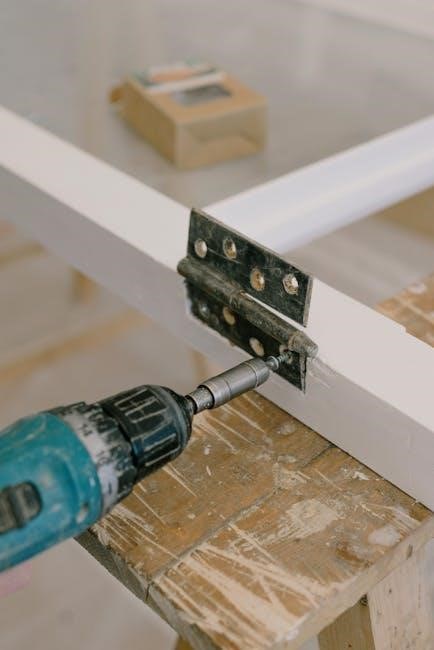
Mounting the Thermostat Base Plate
After wiring, carefully position the thermostat base plate on the wall where your old thermostat was located. Use a level to ensure it’s perfectly straight for a professional appearance. Mark the screw holes lightly with a pencil.
Using appropriate wall anchors (if necessary, depending on your wall type), drill pilot holes at the marked locations. Secure the base plate to the wall using the provided screws. Ensure the base plate is firmly attached and doesn’t wobble.
Double-check that all wires are neatly tucked into the wall opening, avoiding any pinching or strain. A clean installation not only looks better but also prevents potential wiring issues. Now you are ready to attach the thermostat display unit.
Proceed with caution and refer to the diagrams.
Attaching the Thermostat Display Unit
With the base plate securely mounted, gently align the thermostat display unit with the base. It should slide onto the base plate with a satisfying click, ensuring a snug and secure fit. Do not force it; if it doesn’t align easily, double-check the wiring and base plate installation.
Once attached, verify that the display unit is firmly connected and doesn’t feel loose. The display should power on automatically, initiating the initial setup sequence. If it doesn’t, review the troubleshooting section regarding power issues.
Take a moment to inspect the overall installation, ensuring all wires are concealed and the thermostat is level. A properly installed display unit is crucial for accurate temperature readings and optimal performance. Now proceed to programming and setup.
Refer to the manual for detailed instructions.
Programming and Setup
After installation, configure your Honeywell TH4210U2002. Set the date, time, and program heating/cooling schedules to optimize comfort and energy efficiency, utilizing the intuitive interface.
Initial Power-Up and Date/Time Setting
Upon completing the physical installation and applying power to the Honeywell TH4210U2002, the thermostat will initiate its startup sequence. The display will illuminate, and you’ll likely be prompted to begin the initial setup process. This is a crucial step to ensure accurate operation and personalized settings.
The first task is setting the correct date and time; Navigate through the thermostat’s menu – typically using the up and down arrow buttons – to access the date and time settings; Carefully adjust these values to reflect your current location and time zone. Accurate date and time settings are essential for proper scheduling and functionality of the thermostat’s programmable features.
Refer to the user manual for specific button combinations and menu navigation instructions, as these can vary slightly. Confirm your selections and proceed to the next step in the setup process, which usually involves configuring system type and other preferences.
Programming the Heating Schedule
The Honeywell TH4210U2002’s programmable heating schedule allows for customized temperature control throughout the day, optimizing comfort and energy savings. Access the scheduling menu through the thermostat’s interface, typically using the ‘Menu’ or ‘Schedule’ button.
You’ll be able to define different temperature setpoints for various time periods, such as ‘Wake,’ ‘Leave,’ ‘Return,’ and ‘Sleep.’ For each period, specify the desired temperature and the start time. The thermostat supports different schedules for weekdays and weekends, providing flexibility to match your lifestyle.
Carefully consider your daily routines when setting the schedule. Lowering the temperature while you’re away or asleep can significantly reduce heating costs. Consult the manual for detailed instructions on creating and modifying schedules, including options for temporary overrides and hold functions.
Programming the Cooling Schedule
Similar to the heating schedule, the Honeywell TH4210U2002 allows for a fully customizable cooling schedule, ensuring optimal comfort and energy efficiency during warmer months. Access the cooling schedule settings through the thermostat’s menu system, often found alongside the heating schedule options.
Define distinct temperature setpoints for different times of the day, mirroring the heating schedule’s ‘Wake,’ ‘Leave,’ ‘Return,’ and ‘Sleep’ periods. Specify the desired cooling temperature for each period and its corresponding start time. The thermostat conveniently supports separate schedules for weekdays and weekends.
Strategically program the cooling schedule to minimize energy consumption when you’re away or asleep. Raising the temperature slightly while unoccupied can lead to substantial savings. Refer to the installation manual for detailed guidance on creating, editing, and utilizing the cooling schedule features effectively.
Setting Temperature Limits and Offsets
The Honeywell TH4210U2002 offers adjustable temperature limits and offsets, providing enhanced control over your HVAC system and comfort levels. Temperature limits allow you to establish maximum and minimum temperature boundaries for both heating and cooling modes, preventing extreme settings.
Offsets enable fine-tuning of the thermostat’s temperature readings, compensating for potential inaccuracies or variations in room temperature. This is particularly useful if the thermostat is located in a drafty area or near a heat source. Access these settings through the thermostat’s menu, typically under ‘Settings’ or ‘Advanced.’
Carefully adjust these parameters to optimize system performance and ensure consistent comfort. Refer to the installation manual for specific instructions and recommended offset values. Properly configured limits and offsets contribute to energy savings and a more pleasant indoor environment.
Understanding and Using the Hold Function
The Honeywell TH4210U2002’s “Hold” function temporarily overrides your programmed schedule, maintaining a consistent temperature until manually released. This is ideal for unexpected schedule changes or when a stable temperature is desired for an extended period.
There are typically two Hold options: temporary and permanent. A temporary hold maintains the set temperature for a specified duration, after which the programmed schedule resumes. A permanent hold disables the schedule entirely, requiring manual reprogramming to restore it.
Access the Hold function through the thermostat’s main menu. Select the desired temperature and choose the Hold duration or opt for a permanent Hold. Remember to consult the installation manual for detailed instructions specific to your model. Utilizing the Hold function provides convenient, on-demand temperature control.
Troubleshooting and Support
This section addresses common installation issues, like power failures or incorrect readings, offering solutions and guidance. Access Honeywell’s support resources for further assistance and detailed troubleshooting.
Common Installation Issues and Solutions
Incorrect wiring is a frequent issue; carefully verify connections against the wiring diagram in the manual, ensuring compatibility with your HVAC system. A lack of power can stem from blown fuses, a tripped circuit breaker, or disconnected wiring – check these first.
If the thermostat doesn’t respond, double-check the C-wire connection, as it’s crucial for consistent power. Temperature discrepancies often indicate improper calibration or thermostat placement near heat sources. Ensure the thermostat is level and away from direct sunlight or drafts.
For unresponsive displays, confirm the thermostat is receiving power and the batteries (if applicable) are fresh. Refer to the manual’s troubleshooting section for specific error codes and their corresponding solutions. Honeywell’s support website provides additional resources and FAQs to resolve common installation challenges.
Thermostat Not Powering On – Troubleshooting
If your Honeywell TH4210U2002 isn’t powering on, begin by verifying the circuit breaker controlling the HVAC system hasn’t tripped. Check the furnace or HVAC unit’s power switch to ensure it’s in the ‘on’ position. A missing or improperly connected C-wire is a common culprit; confirm its secure connection at both the thermostat and furnace terminals.
Inspect the thermostat wiring for any loose connections or damaged wires. If batteries are installed (some models), replace them with fresh ones. Use a multimeter to test for voltage at the thermostat terminals, confirming power is reaching the unit.
Consult the wiring diagram in the installation manual to ensure correct connections. If issues persist, contact Honeywell support for further assistance, providing the model number and a detailed description of the problem.
Incorrect Temperature Readings – Troubleshooting
If the Honeywell TH4210U2002 displays inaccurate temperatures, first ensure the thermostat isn’t directly exposed to sunlight, drafts, or heat sources like lamps. These external factors can significantly skew readings. Verify the thermostat is level on the wall, as an uneven mounting can affect sensor accuracy.
Check for proper wiring connections, particularly the temperature sensor wires. Utilize the thermostat’s calibration feature (if available) to adjust the displayed temperature to match a known accurate thermometer. Consider a temperature offset setting to compensate for consistent discrepancies.
If the problem continues, a faulty temperature sensor might be the cause. Consult the installation manual for sensor replacement instructions or contact Honeywell support for assistance and potential warranty options.
Connectivity Issues (If Applicable)
While the base Honeywell TH4210U2002 model isn’t inherently a “smart” or connected thermostat, some configurations or paired accessories might introduce connectivity features. If experiencing issues with Wi-Fi or app control, first confirm your home network is functioning correctly and the signal strength is adequate at the thermostat’s location.
Ensure the thermostat is properly paired with the Honeywell Home app or compatible smart home platform, following the app’s specific instructions. Check for firmware updates for both the thermostat and the app, as these often address connectivity bugs. Restart both the thermostat and your home router as a basic troubleshooting step.
If problems persist, consult the Honeywell support website or app for specific troubleshooting guides related to connectivity.
Accessing Honeywell Support Resources
Honeywell provides a comprehensive suite of support resources to assist with your TH4210U2002 thermostat. The official Honeywell Home website is the primary hub for documentation, FAQs, and troubleshooting guides. You can find detailed manuals, including the installation instructions, user guides, and wiring diagrams, available for download in PDF format.
For direct assistance, Honeywell offers a dedicated support phone line where trained technicians can address your specific questions and concerns. Their online support portal allows you to submit inquiries and track the status of your requests. Many common issues are addressed in their extensive knowledge base, searchable by keyword or model number.
Additionally, Honeywell’s community forums provide a platform for users to share experiences and solutions. These resources ensure you have the support needed for a successful installation and ongoing operation.
Advanced Features & Specifications
The TH4210U2002 boasts detailed specifications, including backlight and display settings, alongside T4 Pro wiring diagrams; These features enhance usability and control.
Explore the thermostat’s capabilities for optimal performance.
Detailed Specifications of TH4210U2002
The Honeywell TH4210U2002, a member of the T4 Pro series, presents a robust set of specifications designed for efficient home climate control. This programmable thermostat operates on 24VAC power, ensuring compatibility with standard HVAC systems. It supports 2 heating and 2 cooling stages, offering flexible temperature management.
Display features include a clear, easy-to-read LCD screen with adjustable backlight settings for optimal visibility in various lighting conditions. The thermostat’s operating temperature range is 32°F to 104°F (0°C to 40°C), making it suitable for diverse climates.
Connectivity options are limited in this model, focusing on direct HVAC system control without Wi-Fi capabilities. However, its precise temperature control (±1°F) and programmable schedules contribute to energy savings. Dimensions are approximately 4.7 x 3.1 x 1.2 inches, facilitating easy installation in most locations. Refer to the full installation manual for detailed wiring diagrams and compatibility information.
Understanding the Backlight and Display Settings
The Honeywell TH4210U2002 features a user-adjustable backlight designed to enhance visibility of the LCD display in low-light environments. While the thermostat doesn’t offer extensive customization, the backlight’s intensity is typically controlled through the thermostat’s menu settings. Accessing these settings allows users to toggle the backlight on or off, or adjust its duration after button presses.
The display itself provides clear readings of current temperature, setpoints, and operating mode (heat, cool, auto, off). The LCD screen utilizes easily understandable icons to represent different functions and settings;
Consult the installation manual for specific instructions on navigating the menu system to modify the backlight and display preferences. Proper adjustment ensures optimal readability and minimizes unnecessary energy consumption. The display’s clarity is crucial for effective thermostat operation and user convenience.