
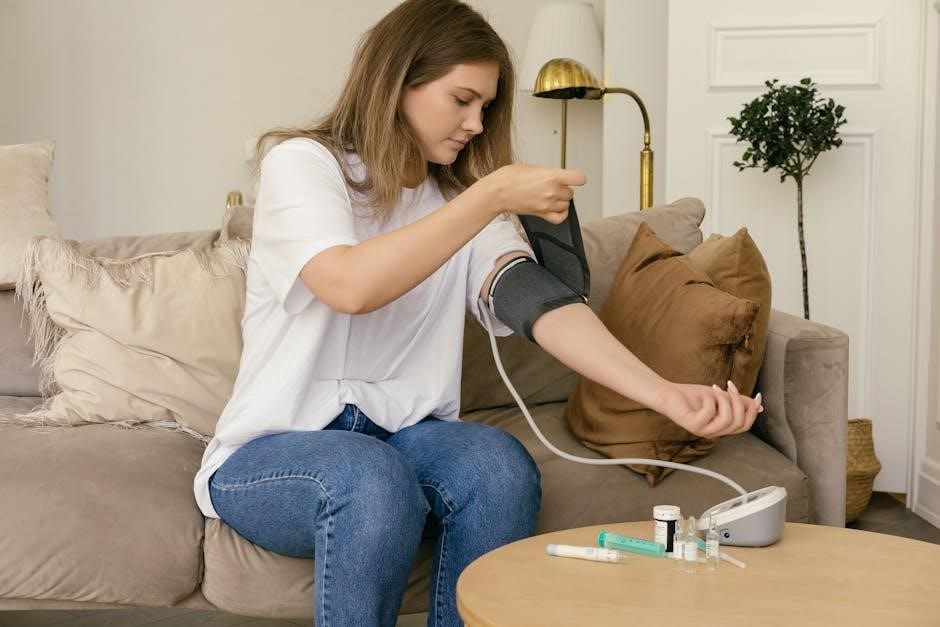
Professional manual cuffs are vital for precise readings, demanding proper technique and patient preparation to avoid inaccuracies like white coat hypertension.
Accurate measurements require supported posture, uncrossed legs, and feet flat on the floor, ensuring the arm is at heart level for reliable results.
What is a Manual Blood Pressure Cuff?
A manual blood pressure cuff is a fundamental tool in healthcare, utilized to non-invasively determine a patient’s blood pressure. Unlike automated devices, it requires a trained professional to inflate the cuff, listen for Korotkoff sounds with a stethoscope, and interpret the readings on a manometer.
This method relies on temporarily occluding blood flow in the brachial artery and then carefully releasing the pressure while auscultating; The cuff itself consists of an inflatable bladder encased in durable material, alongside an inflation bulb and a pressure gauge.
Proper cuff size and placement are crucial for accuracy, ensuring the bladder encircles at least 80% of the arm’s circumference and is positioned at heart level. Mastering manual blood pressure measurement is a cornerstone skill for healthcare providers.
Importance of Accurate Measurement
Accurate blood pressure measurement is paramount in healthcare, directly impacting diagnosis and treatment decisions for conditions like hypertension and hypotension. Incorrect readings can lead to misdiagnosis, inappropriate medication, and potentially adverse patient outcomes.
The “alerting response,” or white coat hypertension, highlights the need for a calm environment and adequate patient rest before measurement. Factors like positioning – supported back, uncrossed legs, feet flat – and proper cuff size significantly influence results.
Consistent, reliable measurements enable effective monitoring of treatment efficacy and early detection of cardiovascular risks, ultimately contributing to improved patient care and long-term health management.
Components of a Manual Blood Pressure Cuff
Essential components include the cuff bladder, inflation bulb, a precise manometer (gauge), and a stethoscope for auscultation – vital tools for accurate readings.
Cuff Bladder
The cuff bladder is the inflatable component within a manual blood pressure cuff, responsible for temporarily occluding blood flow in the artery during measurement. Typically constructed from durable, non-permeable rubber, it ensures consistent and reliable inflation and deflation.
Its size is critically important; an appropriately sized bladder encircles approximately 80% of the arm circumference to guarantee accurate readings. An incorrectly sized bladder – too small or too large – can lead to falsely elevated or lowered blood pressure values.
The bladder’s integrity must be maintained, free from leaks or damage, to ensure consistent performance. Regular inspection is crucial for maintaining the cuff’s accuracy and reliability in clinical settings.
Inflation Bulb
The inflation bulb, a key component of a manual blood pressure cuff, is used to introduce air into the cuff bladder, compressing the artery and halting blood flow. Typically made of rubber or latex, it’s designed for comfortable and controlled manual operation by the healthcare professional.
A valve integrated within the bulb regulates airflow, allowing for precise inflation and slow, controlled deflation. This controlled deflation is essential for accurately identifying Korotkoff sounds, which determine systolic and diastolic pressures.
The bulb’s responsiveness and the smoothness of its operation directly impact the accuracy of the measurement. Regular checks for leaks and proper functionality are vital for reliable blood pressure assessment.
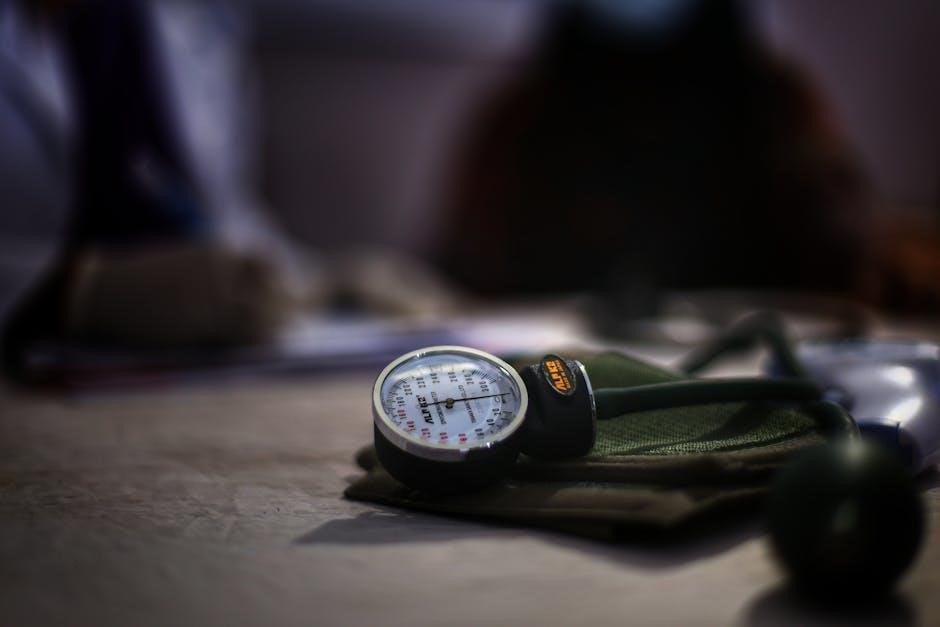
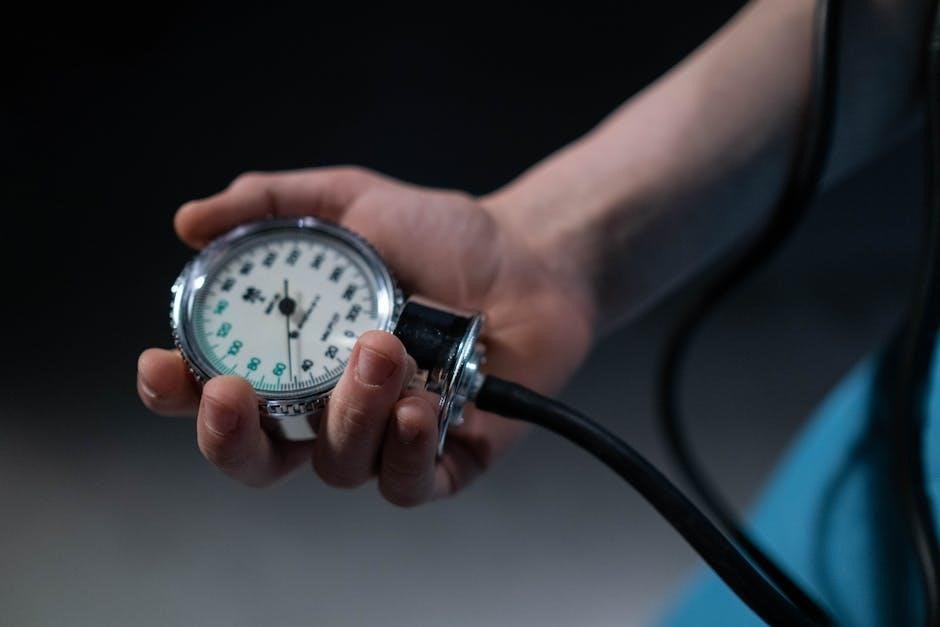
Manometer (Gauge)
The manometer, or gauge, is the visual display component of a manual blood pressure cuff, indicating pressure in millimeters of mercury (mmHg). It’s crucial for accurately determining a patient’s systolic and diastolic blood pressure readings. Manometers can be either mercury-based, aneroid (mechanical), or digital, though aneroid gauges are most common in modern clinical settings.
Aneroid manometers utilize a dial and needle to display pressure, requiring regular calibration to maintain accuracy. The gauge must be easily readable, with clear markings and a robust construction to withstand repeated use.
Proper gauge positioning—at eye level—is essential to avoid parallax errors during readings, ensuring precise and reliable blood pressure assessment;
Stethoscope
The stethoscope is a critical tool for auscultating Korotkoff sounds during manual blood pressure measurement. These sounds, representing blood flow resumption, are essential for determining systolic and diastolic pressures. A quality stethoscope features both a diaphragm and a bell.
The diaphragm, best for high-frequency sounds, is used to initially detect systolic pressure. The bell, suited for low-frequency sounds, aids in identifying the softer diastolic sounds. Proper earpiece fit and placement are vital for clear sound transmission.
Ensure the stethoscope is positioned lightly over the brachial artery, avoiding pressure that could distort sounds. Regular maintenance, including diaphragm and eartip checks, guarantees optimal performance.
Patient Preparation for Accurate Readings
Prior to measurement, patients should rest for at least five minutes and empty their bladder to minimize alerting responses and ensure accurate results.
Proper Positioning of the Patient
Achieving accurate blood pressure readings fundamentally relies on correct patient positioning. The patient should be seated comfortably with their back fully supported, ensuring good posture throughout the measurement process. It’s crucial that legs remain uncrossed, and feet are flat on the floor, providing a stable base.
The arm selected for measurement must be supported at heart level, typically using a table or armrest. This ensures the pressure reading reflects the force within the central arteries. Proper positioning minimizes the influence of external factors and contributes significantly to the reliability of the obtained blood pressure value.
Consistent positioning is key for comparative readings, allowing healthcare professionals to track changes effectively.
Ensuring Adequate Rest
Prior to blood pressure measurement, allowing the patient a sufficient rest period is paramount for obtaining accurate results. A minimum of three to five minutes of quiet rest is generally recommended, enabling the patient’s blood pressure to stabilize and return to baseline levels.
This rest period minimizes the influence of recent physical activity, stress, or emotional stimuli, which can artificially elevate blood pressure readings. Encouraging relaxed breathing and a calm demeanor further contributes to a more accurate assessment.
Failing to provide adequate rest can lead to falsely elevated readings, potentially misdiagnosing hypertension or influencing treatment decisions. Consistent rest protocols are vital for reliable data.
Emptying the Bladder
A full bladder can significantly elevate blood pressure readings, leading to inaccurate assessments and potentially incorrect diagnoses. Therefore, it’s crucial to advise patients to empty their bladder before undergoing manual blood pressure measurement.

The distension caused by a full bladder activates the sympathetic nervous system, triggering physiological responses that increase blood pressure. This effect can mask a patient’s true blood pressure level, hindering effective clinical decision-making.
Providing a private and comfortable opportunity for bladder emptying is a standard component of accurate blood pressure measurement protocols, ensuring reliable and representative data for optimal patient care.

Step-by-Step Guide to Manual Blood Pressure Measurement
Begin by palpating the brachial artery, estimating systolic pressure, inflating the cuff, and auscultating for Korotkoff sounds to determine accurate systolic and diastolic values.
Palpating the Brachial Artery
Locating the brachial artery is the foundational step for accurate manual blood pressure measurement. Begin by positioning the patient’s arm comfortably, palm facing upwards. Palpate for the brachial pulse within the antecubital fossa – the bend of the elbow.
Feel for the pulse between the biceps and triceps muscles. Once located, note its strength and rhythm. This initial palpation helps estimate the systolic pressure, guiding cuff inflation. Inflate the cuff until the radial or brachial pulse is obliterated, then continue inflating 30 mmHg beyond that point.
This ensures the cuff adequately compresses the artery for accurate auscultation in the subsequent steps. Proper palpation minimizes errors and sets the stage for a reliable blood pressure reading.
Estimating Systolic Pressure (Palpatory Method)
The palpatory method provides a preliminary systolic pressure estimate, crucial for preventing under- or over-inflation of the cuff. After locating the brachial pulse, inflate the cuff while continuously palpating the radial artery.
Note the cuff pressure reading at which the radial pulse disappears – this indicates the estimated systolic pressure. Continue inflating the cuff an additional 30 mmHg beyond this point. This ensures the cuff is inflated sufficiently to occlude arterial flow for accurate auscultation.
This technique is particularly useful for initial assessments or when auscultation is challenging. It minimizes discomfort and provides a baseline for subsequent, more precise measurements.
Inflating the Cuff
After positioning the cuff correctly, begin inflating it using the inflation bulb with a swift, controlled motion. Inflate the cuff to a pressure approximately 30 to 40 mmHg above the estimated systolic pressure, determined via the palpatory method.
Observe the manometer (gauge) closely during inflation, ensuring a steady and accurate reading. Avoid rapid inflation, as this can cause discomfort and potentially affect the accuracy of the measurement.

The goal is to completely occlude the brachial artery, indicated by the absence of any palpable pulse distally. Proper inflation is fundamental for obtaining reliable auscultatory readings in the subsequent step.
Auscultating for Korotkoff Sounds
With the cuff inflated to occlude the brachial artery, carefully place the stethoscope’s diaphragm over the brachial artery, just distal to the cuff’s lower edge. Listen intently for Korotkoff sounds – the tapping sounds indicating the resumption of blood flow.
Slowly and gradually release the cuff pressure using the inflation bulb, typically at a rate of 2-3 mmHg per second. As the pressure decreases, note the pressure reading on the manometer when the first clear tapping sound is heard; this marks the systolic pressure.
Continue deflating until the sounds disappear or become markedly muffled, indicating the diastolic pressure.
Determining Systolic and Diastolic Pressure
Systolic pressure, the highest reading, is identified as the point when the first clear Korotkoff sound appears during cuff deflation. This represents the pressure within the arteries during heart contraction. Record this value precisely from the manometer.
Diastolic pressure, the lower reading, is determined when Korotkoff sounds either disappear completely or become significantly muffled. This indicates the pressure in the arteries when the heart is at rest between beats;
Accurately noting both systolic and diastolic values, rounded to the nearest even number, provides a complete blood pressure reading, typically expressed as systolic/diastolic (e.g., 120/80 mmHg).

Common Errors and Troubleshooting
Errors like white coat hypertension, incorrect cuff sizing, and deflation speed impact accuracy. Addressing these issues ensures reliable blood pressure measurements are consistently obtained.
White Coat Hypertension
White coat hypertension refers to elevated blood pressure readings solely due to the stress of a clinical setting or the presence of a healthcare professional. This alerting response can significantly skew results, leading to misdiagnosis and unnecessary treatment.
To mitigate this, it’s crucial to allow patients ample time to rest – ideally three to five minutes – before measurement. Creating a calm and reassuring environment is also beneficial. Multiple readings should be taken, and consideration given to ambulatory blood pressure monitoring for a more accurate assessment.
Recognizing this phenomenon is vital for avoiding inappropriate medical interventions and ensuring patient well-being. Proper technique and patient comfort are key to minimizing its impact.
Incorrect Cuff Size
Using an improperly sized cuff is a frequent source of inaccurate blood pressure measurements. A cuff that’s too small will yield falsely elevated readings, while a cuff that’s too large will produce falsely lowered values.
The cuff bladder should encircle at least 80% of the patient’s arm circumference. Proper selection requires measuring the arm’s circumference and choosing a cuff with the appropriate bladder size. Regularly check cuff sizes and have a range available to accommodate diverse patient populations.
Ignoring cuff size can lead to misdiagnosis and inappropriate treatment plans, highlighting the importance of meticulous attention to detail during blood pressure assessment;
Deflating Too Quickly/Slowly
The rate of cuff deflation significantly impacts the accuracy of blood pressure readings. Deflating too quickly can lead to underestimation of systolic pressure and missed diastolic sounds, while deflating too slowly can cause artificially high readings due to continued compression.
A recommended deflation rate is 2-3 mmHg per second, allowing for clear auscultation of Korotkoff sounds. Consistent deflation speed is crucial for reliable results. Practice and attention to the manometer are essential for maintaining the correct pace.
Mastering this technique minimizes errors and ensures accurate blood pressure assessment, contributing to better patient care and informed clinical decisions.

Advanced Techniques & Considerations
Experienced practitioners often transition from the two-step to the one-step method, enhancing efficiency, while inflating to 30-40 mmHg above estimated systolic pressure is key.
One-Step vs. Two-Step Method
For those new to manual blood pressure measurement, the two-step technique provides a solid foundation for skill development. This method initially involves palpating the radial or brachial artery to estimate systolic pressure. The cuff is then inflated until the pulse disappears, and an additional 30 mmHg is added before auscultation begins.
Conversely, the one-step method streamlines the process for experienced users. It bypasses the initial palpation, directly inflating the cuff to a predetermined pressure – typically around 180 mmHg – and then deflating while listening for Korotkoff sounds.
Transitioning to the one-step method requires proficiency in accurately identifying systolic and diastolic pressures through auscultation, allowing for a more efficient and time-saving measurement process.
Inflation to 30-40 mmHg Above Estimated Pressure
Proper cuff inflation is crucial for obtaining accurate blood pressure readings. Inflating the cuff to a level 30 to 40 mmHg above the patient’s estimated systolic pressure ensures the brachial artery is fully occluded, preventing any audible sounds through the stethoscope initially.
This complete occlusion is essential for clearly identifying the first Korotkoff sound, which marks the systolic pressure. Insufficient inflation may lead to an underestimation of systolic pressure, while excessive inflation doesn’t inherently cause error but can be uncomfortable for the patient.
The goal is to create a silent baseline before gradually deflating, allowing for precise auscultation and accurate determination of both systolic and diastolic pressures.

Maintaining and Caring for Your Cuff
Regular cuff care, including proper storage and periodic calibration, is essential for maintaining accuracy and extending the lifespan of your professional blood pressure equipment.
Storage Guidelines
Proper storage significantly impacts the longevity and accuracy of your professional manual blood pressure cuff. Ideally, store the cuff in a cool, dry environment, away from direct sunlight and extreme temperatures. Avoid storing it in locations with high humidity, as this can damage the bladder and other components.
When not in use, carefully roll or loosely fold the cuff to prevent creases that could weaken the material over time. Avoid tightly winding or compressing the cuff, as this may affect its elasticity. Keep the inflation bulb and manometer protected from dust and physical damage. A dedicated storage case is highly recommended for comprehensive protection during transport and when not actively measuring blood pressure.
Regularly inspect the cuff for any signs of wear and tear, such as cracks or leaks, and address them promptly to maintain optimal performance.
Regular Calibration
Maintaining accuracy demands regular calibration of your professional manual blood pressure cuff. Calibration ensures the manometer (gauge) displays readings correctly, preventing misdiagnosis and inappropriate treatment decisions. It’s recommended to calibrate cuffs at least annually, or more frequently in high-use settings.
Calibration involves comparing the cuff’s readings to a certified reference standard. This process typically requires specialized equipment and trained personnel. If you notice inconsistencies or suspect a calibration issue, discontinue use and seek professional calibration services immediately.
Document all calibration dates and results for quality control purposes. A properly calibrated cuff is essential for reliable blood pressure measurements and optimal patient care, contributing to accurate diagnoses and effective treatment plans.